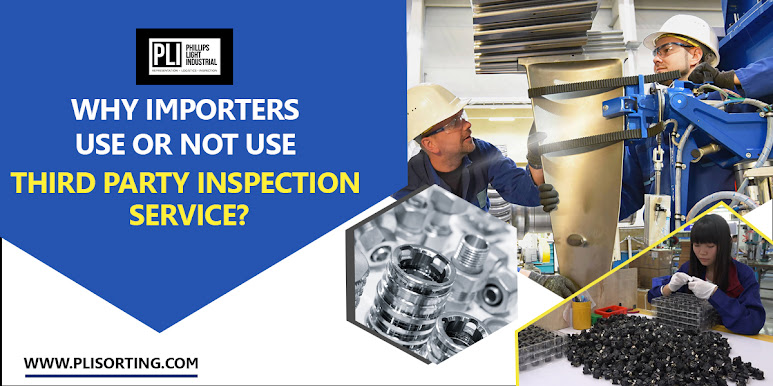
How to Select the Best Part Inspection Method for Your Needs
Choosing the right part inspection method is crucial for ensuring the quality and reliability of components in any manufacturing process. The inspection method you choose can impact the efficiency, accuracy, and overall success of your production. This guide will help you navigate the various part inspection services available, so you can make an informed decision that best suits your specific needs.
Understanding Part Inspection Methods
Visual Inspection
Visual inspection is one of the most basic and widely used methods. This method involves examining parts with the naked eye or using magnifying tools. It is often used for detecting obvious defects such as scratches, cracks, or misalignments.
Advantages:
Quick and straightforward
No special equipment needed
Ideal for initial quality checks
Disadvantages:
Limited to surface defects
Subjective and can vary between inspectors
Dimensional Inspection
Dimensional inspection involves measuring the physical dimensions of a part to ensure they meet specified tolerances. This can be done using calipers, micrometers, or more advanced equipment like coordinate measuring machines (CMMs).
Advantages:
High precision and accuracy
Suitable for complex parts
Provides quantitative data
Disadvantages:
Requires specialized equipment and training
Time-consuming for large volumes
Non-Destructive Testing (NDT)
Non-Destructive Testing (NDT) includes a range of techniques used to evaluate the properties of a part without causing damage. Common NDT methods include ultrasonic testing, radiographic testing, and magnetic particle testing.
Advantages:
Does not damage the part
Can detect internal and hidden defects
Suitable for critical components
Disadvantages:
Requires specialized equipment and expertise
Can be expensive
Destructive Testing
Destructive testing involves intentionally damaging a part to test its performance under various conditions. This method is often used for materials testing, such as tensile strength or fatigue testing.
Advantages:
Provides comprehensive data on material properties
Essential for safety-critical components
Helps in understanding failure modes
Disadvantages:
Destroys the part being tested
Not suitable for high-volume production
Automated Inspection
Automated inspection uses advanced technologies like machine vision and robotics to inspect parts. These systems can quickly and accurately assess multiple aspects of a part.
Advantages:
High-speed and high-volume inspection
Consistent and repeatable results
Can integrate with other manufacturing processes
Disadvantages:
High initial investment
Requires technical expertise for setup and maintenance
Factors to Consider When Choosing an Inspection Method
Type of Defects
Different inspection methods are better suited for detecting certain types of defects. For example, visual inspection is effective for surface defects, while NDT methods are better for internal flaws.
Material of the Part
The material of the part being inspected can influence the choice of method. For instance, radiographic testing is ideal for metals, while ultrasonic testing may be better for composites.
Production Volume
High-volume production may benefit from automated inspection methods due to their speed and consistency, whereas low-volume, high-precision parts might be better suited for dimensional or NDT inspections.
Cost and Resources
Consider the costs associated with each inspection method, including equipment, training, and operational expenses. Some methods require significant upfront investment but can save money in the long run.
Regulatory Requirements
Ensure that the chosen inspection method complies with industry standards and regulatory requirements. This is especially important in industries such as aerospace, automotive, and medical devices.
Why Choose plisorting.com for Your Part Inspection Services
When it comes to part inspection services, choosing a reliable and experienced provider is essential. Here are the reasons why plisorting.com is the best choice for your needs:
Expertise: With years of experience in the industry, our team of experts is well-versed in various inspection methods and can recommend the best approach for your specific requirements.
Advanced Technology: We utilize the latest inspection technologies to ensure the highest accuracy and reliability in our services.
Comprehensive Services: From visual inspection to advanced NDT methods, we offer a wide range of inspection services to meet all your needs.
Quality Assurance: Our rigorous quality assurance processes ensure that every part we inspect meets the highest standards of quality and reliability.
Customized Solutions: We provide tailored inspection solutions to suit your unique needs, ensuring optimal results for your specific application.
Regulatory Compliance: Our inspection services comply with all relevant industry standards and regulations, giving you peace of mind.
Customer Support: Our dedicated customer support team is always available to assist you with any queries or concerns.
Conclusion
Selecting the best part inspection method for your needs is crucial to ensuring the accuracy and reliability of your academic research. By understanding the various part inspection services and considering factors such as the nature of the part, types of defects, accuracy requirements, budget, and regulatory standards, you can make an informed decision. Trust plisorting.com to deliver top-notch part inspection services that meet your specific requirements and ensure the success of your research projects. Contact us today to learn more about our services and how we can assist you.


Comments
Post a Comment